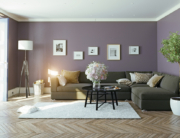
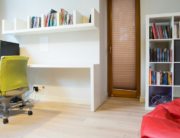
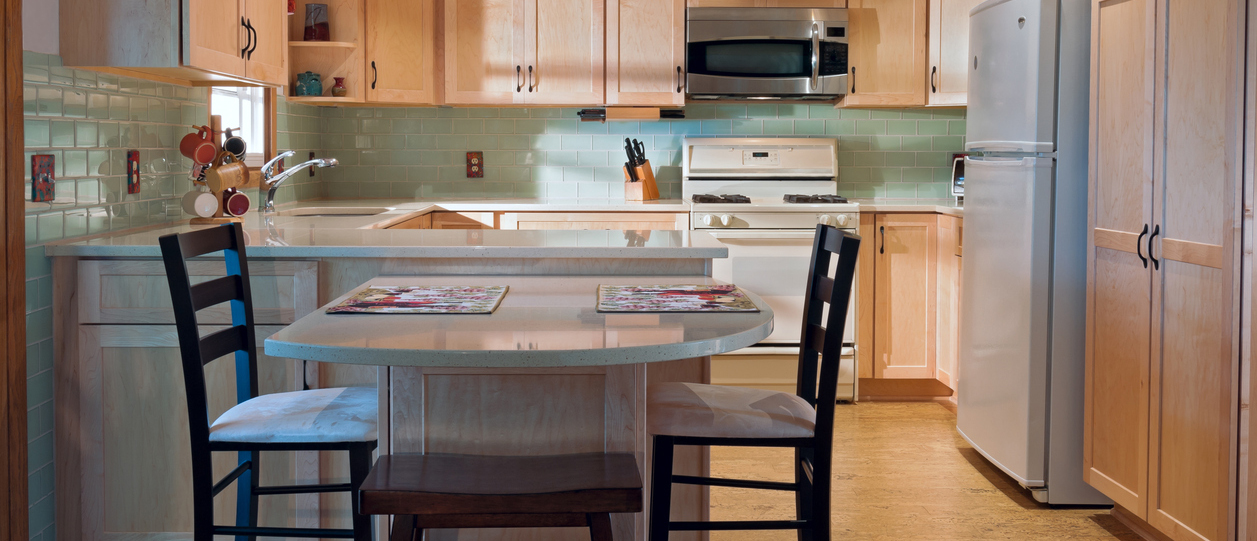
Your dark and dingy basement is a gold mine of possibilities. Throw up some walls, and you’ve got an extra bedroom or family gathering space. Add a bathroom or kitchen, and you’ve created a possible rental that can help pay for the renovation or house your in-laws or adult kids.
But let’s tackle first things first, like how to kick off the process of finishing your basement. How much is this going to cost?
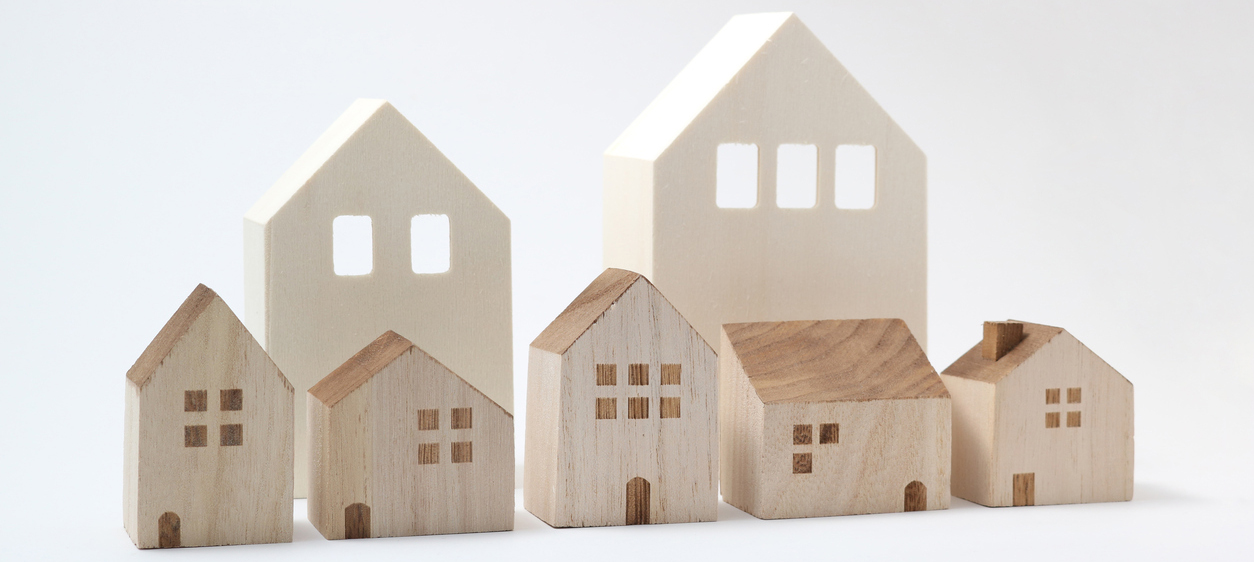
While expenses vary based on what you’re doing, on average, finishing a basement will set you back $68,490. That might seem steep, but get this: According to Remodeling magazine’s Cost vs. Value calculations, you’ll recoup an average of 70.4% of your costs when you sell. That’s higher than a kitchen (64.9%) or a bathroom (65.7%) remodel—so clearly it can be a smart investment.
Bonus: Finishing a basement and converting it into, say, a family room costs 20% to 30% less than building the same-size addition above ground, says Tim Shigley, a Wichita, KS, builder and national chair of the remodeling arm of the National Association of Home Builders.
“I don’t have to put in a foundation, exterior walls, a room, and heating and air,” Shigley says. “It’s all there.”
However, finishing a basement comes with some unique challenges. Here’s what you’re in store for and how to make the most of this subterranean space.
Ward off water problems
Water, whose greatest joy is finding a way into your home no matter the obstacles, is a particular problem when refinishing a basement. Groundwater and rain that’s not properly routed away from your house can enter basements through foundation cracks, loose windows, and doors. When you have nothing but some posts and beams in the basement, water is a nuisance; but once you’ve refinished the area, water can be a disaster.
That’s why it’s important to install French drains (trenches with gravel and perforated pipe) and a sump pump or two to make sure water doesn’t wreck your remodel. Also, plan to place a dehumidifier in the finished basement to continually remove moisture from that underground air and prevent mold growth.
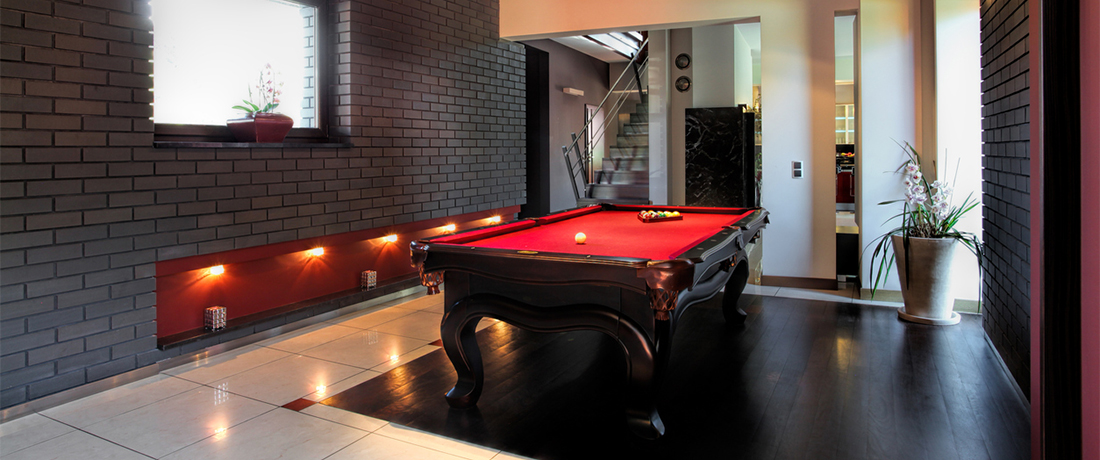
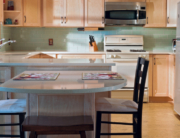
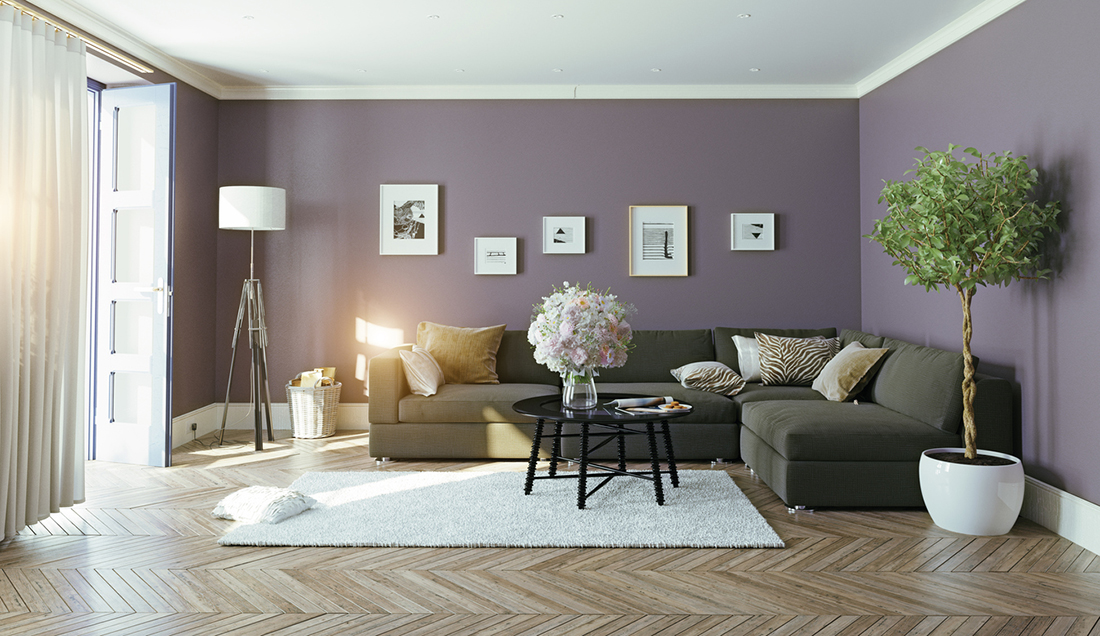
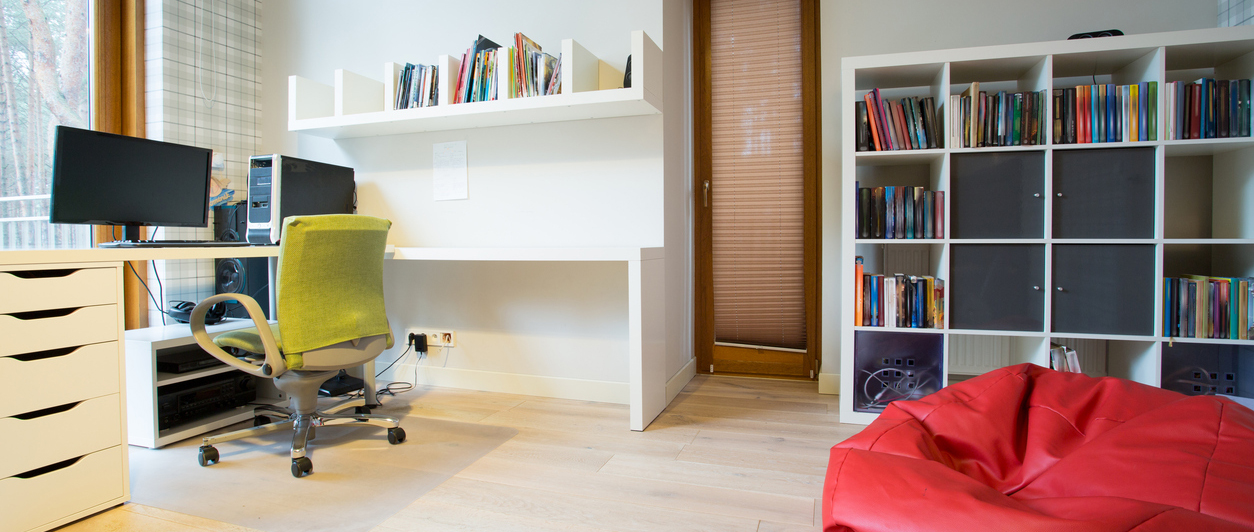
Add lighting
Simple fact: Light, bright places are so much more inviting than dark spaces. To add light to a basement, add windows if possible or, if you install a door, choose one with sidelights or divided light panes. Don’t skimp on recessed lights with LED bulbs that last for years, and take advantage of walls by adding sconces. Make sure to add enough outlets to service floor and table lamps, which will add lighting texture to the space.
You can also add solar tubes—which, as the name suggests, are tubes connected to the outdoors that tunnel natural light down to your basement.
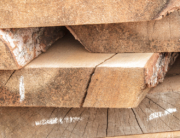
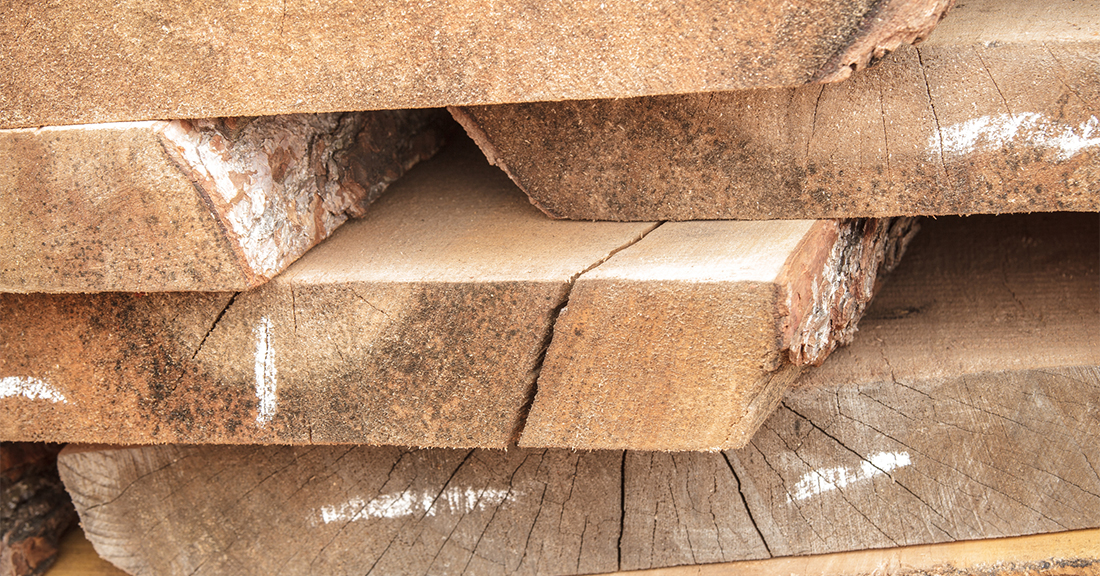
Pick the right flooring for a basement
Remember all that insidious water mentioned above? Well, it’s just waiting to soak your basement carpets and rugs, too. Thwart these evil intentions by installing flooring that can stand up to an unfortunate inch of standing water.
First off, don’t even think of installing hardwood floors in a refinished basement, which is a buckling fiasco waiting to happen. Carpet is another bad idea for a basement, although you can wet-vac water out of carpet and dry it with a fan.
You can do crazy things with concrete slab these days, polishing it to a high sheen and adding stains that make it look like stone. And tile will stand up to anything water has to offer. Vinyl will repel water, but sheets can peel up when water seeps beneath, so watch out.
Check for radon (and get rid of it)
Before you refinish your basement, make sure to check for radon—an odorless, colorless gas emitted by the breakdown of uranium in soil. About 1 in 15 homes has a level high enough that the U.S. government has recommended that action be taken to control the leak. To make sure your house is not one, you can conduct your own test with a radon kit that costs less than $10, or pay the pros about $165. Radon remediation can cost thousands and could involve sealing slab or foundation cracks or installing ventilators, but these safety measures are well worth it if you plan on spending time in your new living space.
This article was originally published at Realtor.com.
